

How To Change Line Thickness In Python
In this article, we are going to discuss how to employ Python to modify the thickness of a line of the nautical chart in matplotlib. Whenever we construct a line plot, matplotlib will employ the default line width value, which is 1. But this value can be changed. The linewidth parameter in Matplotlib enables united states of america to change the thickness of a line in the chart.
When we want to specify a chart'south line width narrower, we will ever use a value less than 1. And when we want the plot's line width to be wider, nosotros could define linewidth equally larger than 1.
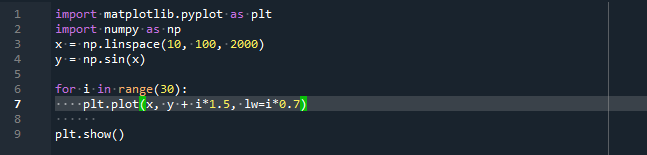
Change the Thickness of several lines past using for loop:
We utilize for loop to modify the line width of many lines. The subsequent code demonstrates how to alter the width of numerous lines at the aforementioned time:
import matplotlib.pyplot as plt
import numpy as np
fig= plt.figure ( )
axes= fig.add_axes ( [ 1 , 1 , 2 , 2 ] )
x= np.arange ( 0 , 15 )
axes.plot (x,x**ii , color= 'greenish' , linewidth= 50 )
plt.prove ( )
Here we take to integrate matplotlib.pyplot as plt library for graphic visualizations, and also we integrate Numpy as np for mathematical analysis of the data. At present we create the information sets by using the NumPy library.
To store the information sets of the x-axis and y-axis, we declare 2 variables. For defining the data points of the 10-centrality, we call the np.linspace() method. And similarly, for defining the data points of the y-axis, we apply the np.sin() function. We declare for loop here.
A new variable is created and initialized to specify the range. In add-on to this, we apply plt.plot() to draw the plot. The data sets of the 10-axis and y-centrality are provided as an argument for this office. After this, we also specified the line width for the lines.
Here nosotros utilize the short course 'lw' of the line-width. At the end of the program, nosotros phone call plt.show() function to stand for the graph.
Adjust the line width of one line:
Let's run across a simple example of how to draw a graph and specify the thickness of one line of any graph.
import matplotlib.pyplot every bit plt
import numpy every bit np
10 = np.linspace ( ten , 100 , 2000 )
y = np.sin (x)
for i in range ( 30 ):
plt.plot (x, y + i*ane.5 , lw=i*0.7 )
plt.evidence ( )
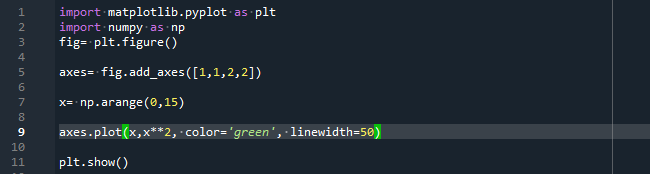
In this program, firstly, we have to import the packages, including matplotlib.pyplot every bit plt and NumPy as np. In the subsequent step, we state a variable termed 'fig.' The role plt.effigy() is specified to the 'fig' variables. This function generates an item, and that item is initially empty since we are not providing any parameter to it.
Further, we insert the ten and y-axis to this graph past calling the part fig.add_axes() function. We ascertain x dimensions, which range from 0 to 15. For this purpose nosotros call the function np.suit(). Nosotros at present depict the square of ten dimensions by the use of axes.plot() function. This technique lets us accommodate the graph's line width. This can be washed past providing the 'linewidth' argument to the plot() method.
In this scenario, nosotros defined the width of the line equally 50, providing the graph'south line with a thickness that is 50 times that of the usual line width. We also specified the color scheme of the thickness of the line by passing the parameter 'color' to the plot () function. Here we specify the color of the line to 'dark-green.' Nosotros display the plot by using the plt.show () function.
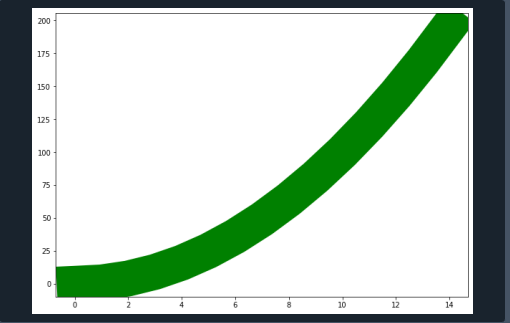
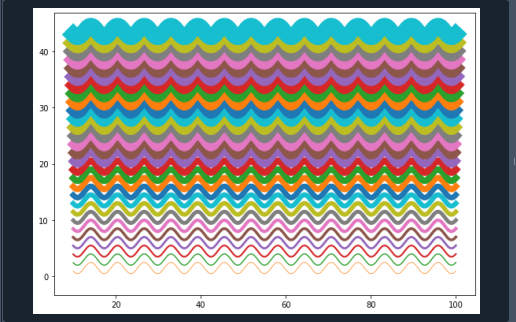
We obtain this type of graph after executing the above code. The thickness of the line is set to exist l, as displayed in the above output.
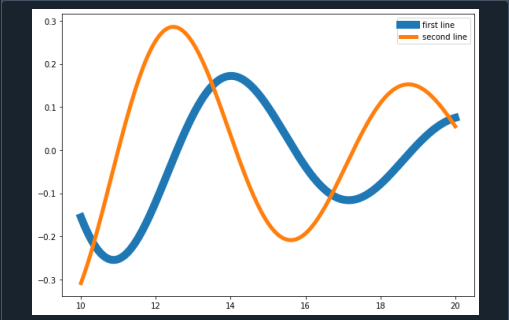
Specify the line thickness and apply Legends:
This pace demonstrates how to construct numerous lines of varying thicknesses, as well as a label that indicates the width of every line.
import matplotlib.pyplot equally plt
import numpy as np
l = np.linspace ( 10 , 20 , 200 )
m = np.sin (l)*np.exp (-l/eight )
n = np.cos (l)*np.exp (-fifty/ten )
plt.plot (l, m, linewidth= 10 , label= 'first line' )
plt.plot (l, n, linewidth= 5 , label= '2nd line' )
plt.fable ( )
plt.evidence ( )
Afterward including the matplotib and NumPy library, we create three variables 'l', 'one thousand', and 'n.' Then; nosotros declare the values for both the x-axis and y-axis by applying the NumPy bundle. Those 3 variables are used to shop data sets. We have to draw two lines, so we call plt.plot() part respectively.
The plot() role holds four parameters. The values for the x-axis, y-axis, line width, and labels are provided for this function. Hence we create different lines and then specify the thickness of these lines. Nosotros defined the line width as 10 for the first line. And define the line width to v for the second line.
We also defined the labels that show the lines. To insert the label to every line, we have to call plt.legend() method. Similarly, we apply the plt.show() part to evidence the plot.
Floating-point number of line width:
Nosotros can ready any floating-point number to the line width. We would utilize the parameter 'linewidth' to accommodate the thickness of the line.,
import matplotlib.pyplot as plt
import numpy as np
a = np.assortment ( [ 21 , 11 , 10 , 17 ] )
plt.plot (a, linewidth = '32.vi' )
plt.show ( )

In this instance, nosotros introduce the matplotlib and NumPy modules. Nosotros divers the data set for only the y-axis here using the np.assortment() function. We declare the array containing different values. This array is stored in the 'a' variable.
At present we apply the plot() function. Here nosotros provided a dataset of the y-axis as a function parameter. Similarly, we specify the floating-point value to the 'linewidth' argument of the function. Now we go the figure by calling the plt.prove() method.
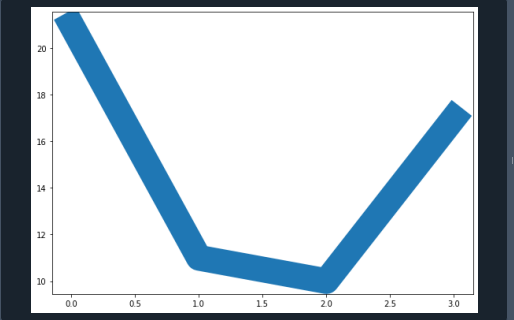
Past running the in a higher place code, nosotros get a effigy with a 32.6 wide line.
Conclusion:
In this article, we examined the method of changing the line width of the plot with several examples. We tin can set floating-point numbers to the line width of the graphs. Nosotros utilize for loop to accommodate the line width of different lines. We change the line width likewise as apply labels to the lines.
Virtually the author
How-do-you-do, I am a freelance author and ordinarily write for Linux and other technology related content
Source: https://linuxhint.com/matplotlib-line-thickness/
Posted by: robinsonwiscon.blogspot.com
0 Response to "How To Change Line Thickness In Python"
Post a Comment